Project Management Using Asana
Projects are starting to stack up, deadlines are fast approaching and passing by, tasks are being missed and forgotten about. If any of this sounds familiar you are going through what most any team does when they reach a certain capacity; a lack of project management. There are many services you can use to help you manage any future projects and workload. Here at Perception Engineering, we like to use Asana to help keep all the fires at bay. Best of all, if you’re working with a team of 15 or smaller, it’s free!
If you have larger teams, or would like more of their available features you will have to upgrade to Premium for $10.99 per user per month, Business for $24.99 per user per month, or get in contact with their sales team to work out an Enterprise level plan. This blog will be covering project management techniques used by the Perception Engineering team. All these techniques will fall under the scope of the Basic (free) plan, offered through Asana.
Once you create your account Asana will provide you with a walk through of your basic steps. When choosing your first project feel free to pick from the templates or choose a blank project if you have a specific use in mind. Give your project a descriptive name and choose between the list, board, or calendar default view (this can be changed later). You can now invite up 15 teammates to your team and add as many projects you would like. If signed up with an organization email domain, such as your company, you will have an organization account rather than a workspace and this will allow you to add several teams each having 15 members. Now, by going to your project, your default view will pop up. I will start by going over the list view.
List View
The list view will appear as follows.
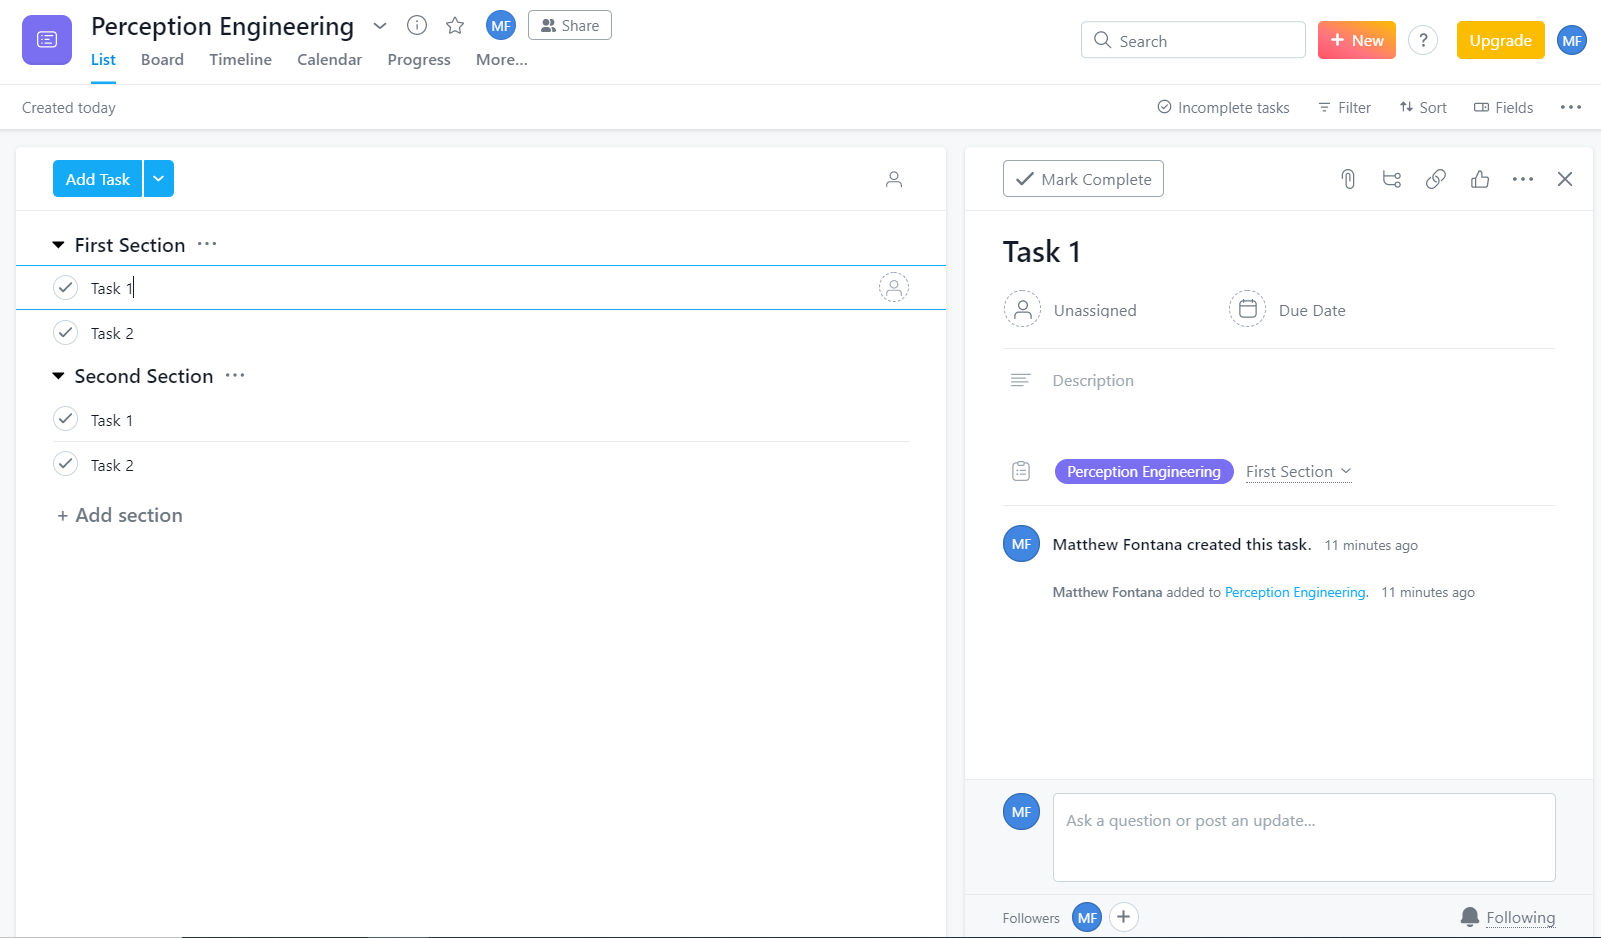
You can have individual tasks, each separated into categories. There are various ways that you can set up your sections. You can have static timelines, such as each week as a new section, and keeping the tasks within the week you plan on completing. You could also have a dynamic set up so that each section is a stage of the process. For example, having, Concept, Development, Under Review, and Complete, and dragging the tasks through their respective stages. If you click on a task, you will bring up the details panel to the right. In the details you can assign this task to a member of your team, assign a due date, give them a description, create a list of sub tasks and attach files. There is also a section in which you can comment and keep all your communications on the topic under the task itself. If you create subtasks, these can each be assigned to a different individual, given their own due date, as well as maintain their own thread of comments pertaining to the task. At the bottom you can add followers to your task. Followers will be notified as comments and changes to the task are made. You can also make someone a follower by mentioning them in a comment by using the @ symbol prior to their name. Mentioning someone also ensures they will be notified of the comment.
Board View
Here at Perception Engineering, we like to use the board view for a visual representation of where we stand on all our projects. Our board is set up like the following.

Note: The sections and tasks in your list view will appear in your board view and vice versa.
For this application we classify a project as a single task. If you click on these tasks you should be provided with a details pop-up, like that you would see in the list view.
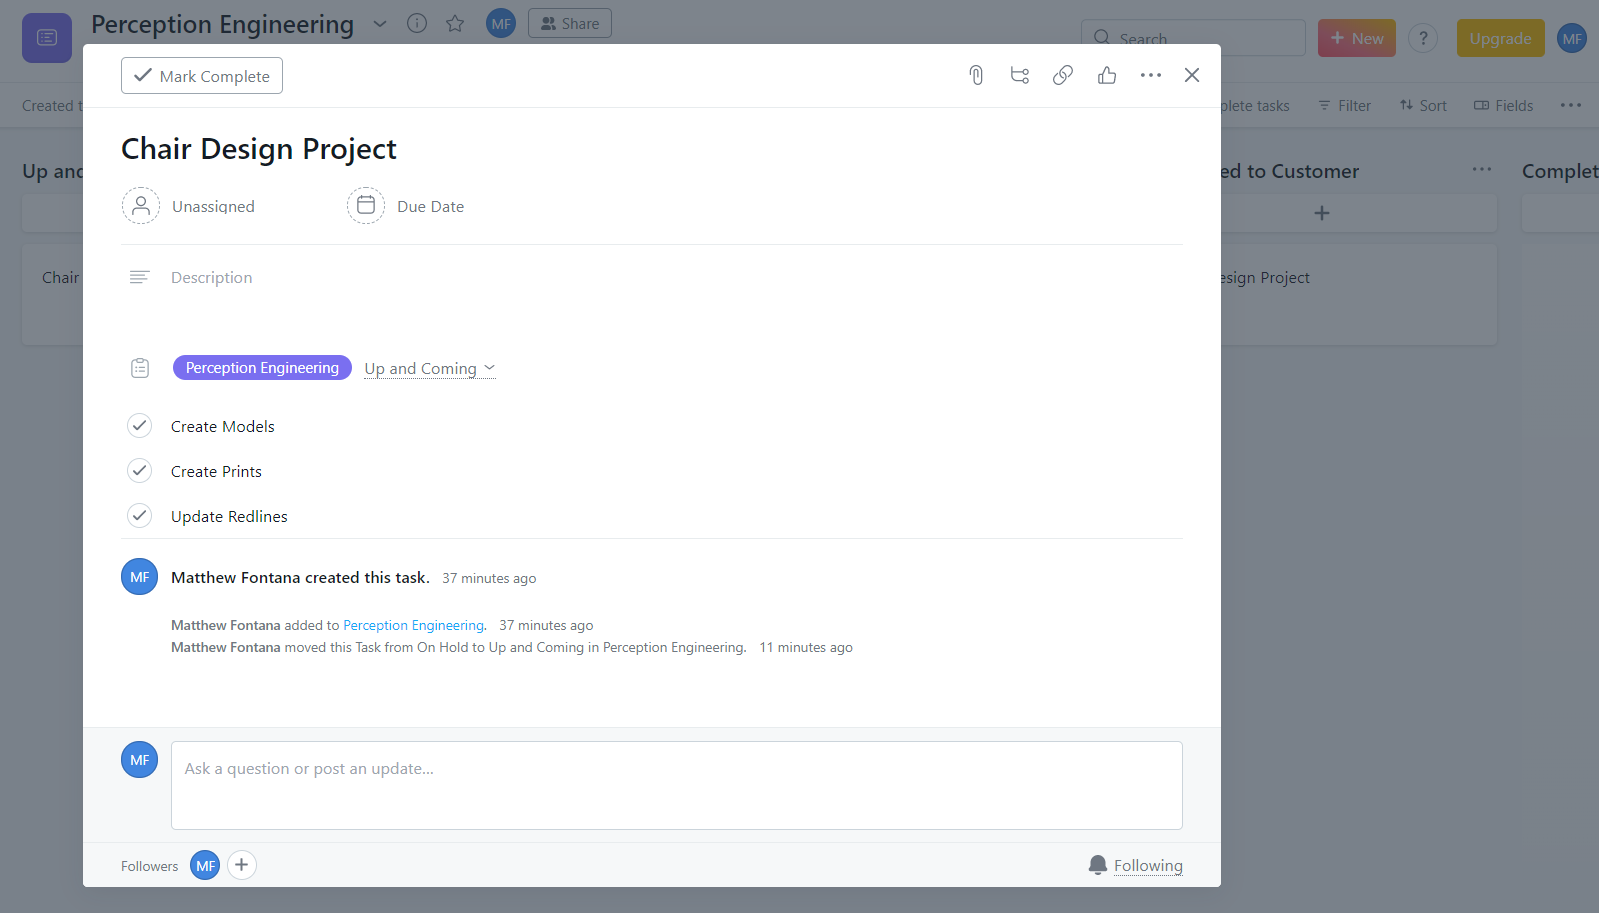
The same functions are provided as the details tab in the list view. In the image provided you can see the application of a list of sub tasks.
Lastly, the calendar view will show you all your tasks according to their deadline. Only tasks that have a due date will appear in the calendar view. Just as with the board view you can click on a task to bring up the details pop-up. If you would like to change the due date of tasks in your project, the calendar view allows you to easily click and drag tasks to your new desired due date.

If you originally chose a view to be your default but would now like to switch, click on the three dots in the top right of your view and select “Save layout as default”.

This will now appear as the default view whenever you click on your project. There you have it, the basics to keeping all your projects organized on track while increasing communication between your team.
We're so glad you took the time to read our blog! If you have any questions or need our contract services, please feel free to reach out to us anytime. We're always happy to help!